
Know the Ropes: Crafty Rappel Techniques

“Good judgment comes from experience. Experience often comes from surviving bad judgment.”—Mark Twain
In my first year of climbing, I almost died rappelling.
My buddy and I had climbed a moderate two-pitch gear route at Smith Rock, Oregon. Getting down meant doing a single-rope rappel to an intermediate bolt anchor and then doing one more rappel to the ground. No problem, we thought.
I went first. I looked down and saw what I thought were the intermediate anchor bolts. They were a bit off to the side, but they looked easy enough to reach. I started rappelling slowly and in control. About halfway down, I began pushing sideways with my feet, tensioning rightward toward the intermediate anchor.
I was about ten feet above the bolts when I glanced down at the tails of my rope. The ends were unknotted and flapping five feet below my brake hand. Not a good place to be.
After an initial wave of panic and nausea, my head cleared. My problem needed an immediate solution. Forcing myself out of adrenaline-induced tunnel vision, I looked around. There, about 20 feet to my left, tucked under a little lip of rock and invisible from above, was a pair of shiny bolts with stainless rappel rings—the actual rappel anchor for my descent.
Grabbing the rope as tightly as I could, I swung left to the bolts and carefully reached up to clip in with my tether. Relief washed over me and I weakly croaked up to my partner, “Off rappel.” The rest of the descent was uneventful, but every time I lean off the edge of a cliff on a rappel line, I remind myself that rappelling, as easy as it seems, is a persistent and equal opportunity killer that has plucked many from our ranks, including greats of the past like Toni Kurz, Jim Madsen, Todd Skinner, and more recently, Brad Gobright.
LUCK IS NOT A STRATEGY
Climbing is very unforgiving of stupid mistakes. In the case above, I made a bunch of errors and got lucky.
The following factors led quickly to the critical situation described above, and these are relevant to almost every rappel descent.
• Not having adequate descent beta.
• Not paying attention to the logical place to find the next anchor (i.e., the fall line from the top anchor).
• Not “closing my system.” This could have been tying knot(s) in the end(s) of the rope or clipping the knotted end(s) of the rope to my harness.
• Not paying attention to the remaining rope below me.
Yes, I was a relative novice, and in my defense, this was long before stopper knots became standard practice.Still, over the decades extremely experienced climbers have died while rappelling simply because they did not tie stopper knots. Please be smart—gain some knowledge from the poor judgment and close calls of myself and others.
RAPPEL TIPS
A few techniques will go a long way to reduce risk while rappelling. Here are a few that apply to a wide number of situations. Some are also not common knowledge.
• Using stopper knots effectively
• The stacked (a.k.a. pre-rigged) rappel
• Improving sketchy anchors
Using stopper knots effectively
Tying knots in the end(s) of your rappel rope(s) is the easiest and most obvious way to close your rope system. This provides an easy way to avoid rappelling off the ends of your rope.
Some people object to tying knots in the rappel strands because they don’t want a knot to get stuck. This is rarely an issue. Unless you have unusually deep, rope-eating cracks right below you, the first person down should easily be able to stop, pull the knot out of whatever crack it might be in, and toss it back down the cliff.
A key rule of rappelling is to never go below any rope that’s stuck. The first person down should fix any issues and lower the rope properly.
When considering any of these inconveniences, think of it this way: How many people have died from a knotted rope end getting stuck? Compare that to how many people have died from rappelling off the end of the rope?
Case Study (ANAC 2025): This year, we are reporting a tragic instance of a fatal rappel fall that would have been prevented by using stopper knots on both ends of the rope. A climber was rappelling a 70-meter pitch that he had completed in a light rain. It is assumed he intended to do a three-rappel descent. On his first rappel, a combination of elements led to a miscalculation of the rope lengths in his double-rope rappel. It was discovered that one end of his rope had a stopper knot and the other did not. A stopper knot on both ends would have arrested his fall.
Choosing a stopper knot
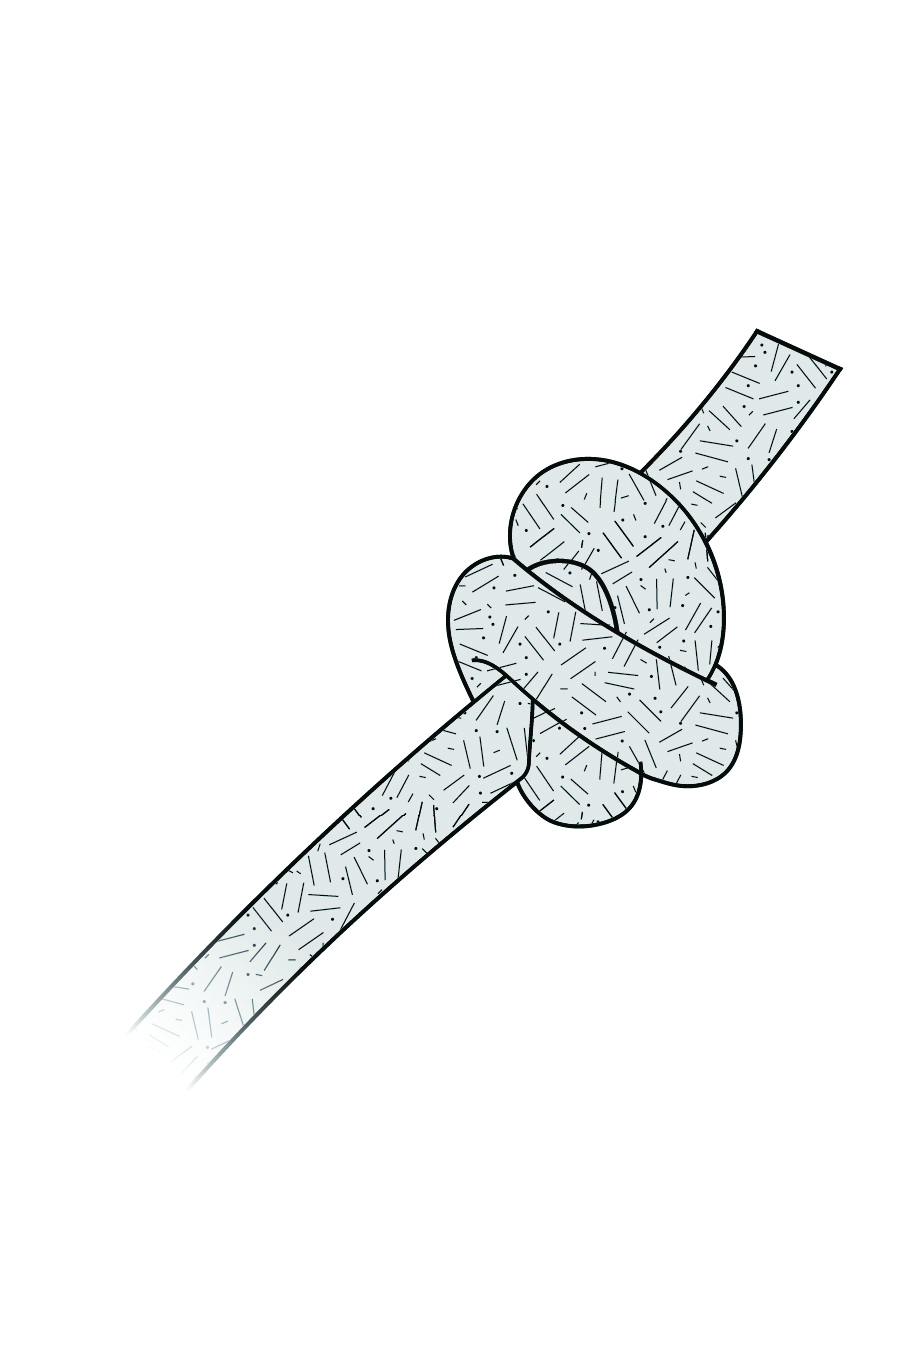
The standard stopper knot is the barrel knot.
Relying solely on stopper knots is risky—they may fail under force or pass through certain descenders. Recently, HowNOT2.com measured the force required to pull a stopper knot through an ATC at 6kN.
Tie the stopper using a three-foot section at the end of the rope with plenty of tail. This prevents it from loosening or untying. All knots (not just these) should be tight and evenly dressed.
When the first climber reaches the ground after the final rappel, they should untie the stopper knots—they’re no longer needed. If you get in the habit of doing this, you’ll never experience the mistake of attempting to pull down your rope with a knot in the end of one strand. (I know this is a common mistake because I’ve done it several times.)
The Stacked Rappel
The stacked rappel (known by some as a “pre-rigged rappel”) is a common technique with guides and clients. It also
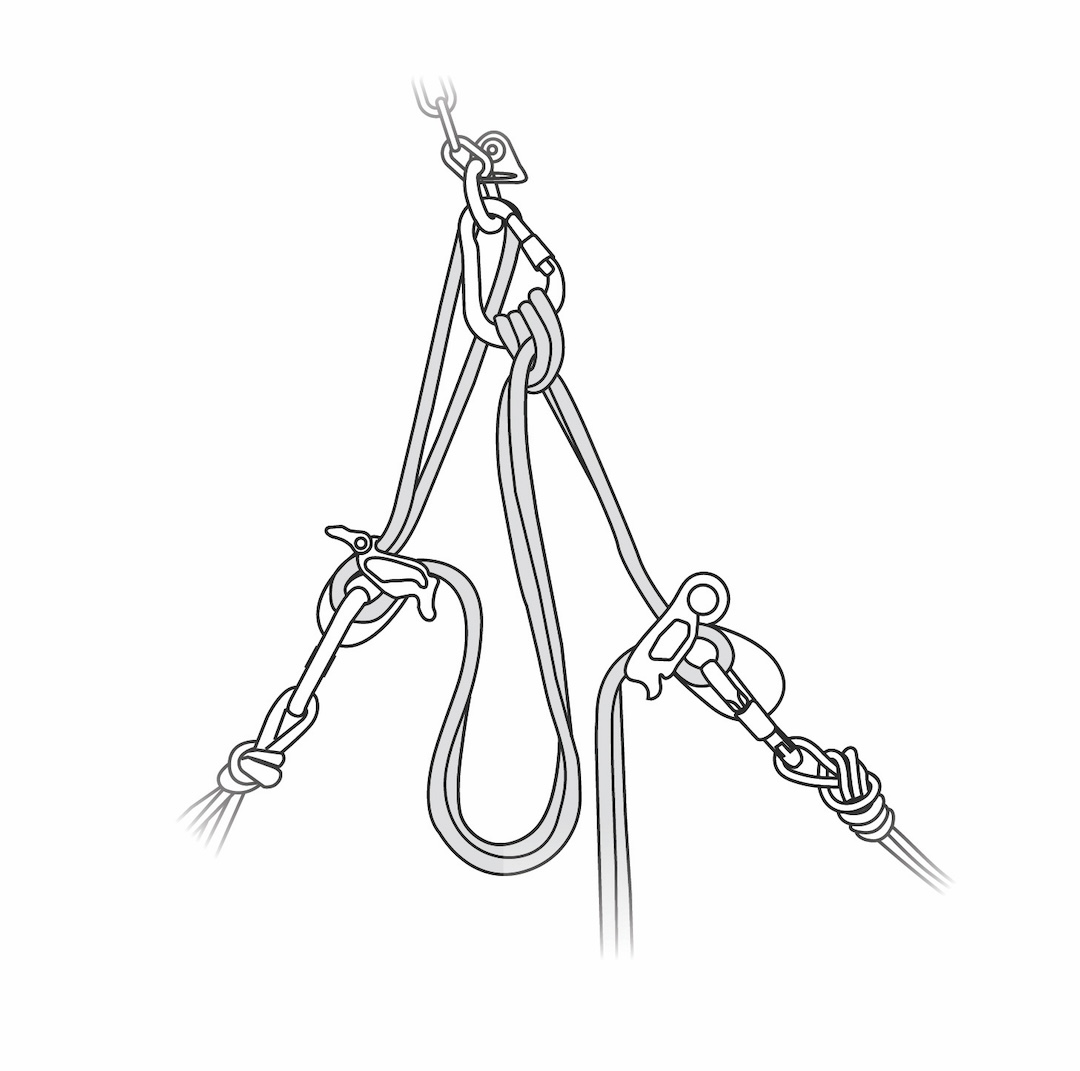
Photo: Foster Denney
has some benefits that cross over to recreational climbing. The stacked rappel is very efficient and reduces risk.
Let’s talk about multi-pitch rappels, which is where many “rap-off-the-end-of-the-rope” accidents seem to happen.
When doing multiple rappels, many people avoid tying knots in the ends of both strands. Why? Because it’s easy to thread one strand through the lower anchor, tie a stopper knot, pull the rope, and let the second strand fall (mostly) down the next pitch. This leaves you with a knot in the “pull” strand, but none in the “falling” strand.
You could pull up half of the rope, tie a second stopper knot, and toss it back down, but that is a bit of a hassle. That’s why many people skip it.
Guess what? There’s a simple way to mitigate this risk, and it’s called the stacked rappel.
As we said above, the stacked rappel is efficient and reduces risk. A stacked rappel means that both partners (assuming a team of two) rig to rappel before either actually rappels. Both climbers will use a sling or tether to extend the rappel device and locking carabiner away from their harness. This extension prevents the climber who remains at the rappel station from getting yanked around when the rope is under tension as the first climber is rappelling.
Three Main Benefits
Risk reduction: Both climbers are pre-rigged so they can check each other’s systems for a correct set up. This includes Belay device, Rope, Anchor, Knot, Extension, and Safety backup (BRAKES). It’s standard practice to do a partner belay check. With pre-rigged rappels, you can do a partner BRAKES check. If we give partners a safety check on the way up before they start climbing, why not do the same on the way down? With the stacked rappel, both climbers can check each other’s setup before heading down.
Note that this can be especially important if one climber is less experienced. Usually the more experienced person goes first to set up the lower anchor. The second climber will be rigged and BRAKE checked before they start down.
Greater efficiency: Stacked rappels are efficient because both climbers set up their rappel devices on the ropes at the same time. It becomes a simple matter of unclipping the tether and rappelling when it’s your turn to go down.
On a normal rappel, the second rapper can’t get rigged until the first person goes off rappel, thus providing the needed slack. Not so with the stacked rappel. The second person can start down the very moment that the first person goes off rappel. An experienced team will find modest time savings here. But with beginners, especially a larger team, the time savings can be substantial.
Only one knot needed in the end of the rope: How is having only one knot safer, when there are two strands? This might be a little hard to visualize, but bear with me. When you do a stacked rappel, the device of the person at the top anchor has both rope strands locked in place. This is essentially like having both strands of rope fixed while doing a double-rope rappel. If the first person down happened to rappel off the end of one strand of the rope, they would be caught by the knot in the second strand—and because of their pre-rigged partner on top, the rope would not get pulled abruptly through the top anchor.
The Stacked Rappel in Action: Multipitch Rappels
Can you see how this is so helpful for multipitch rappels?
When you, the first climber, reach the lower anchor, you pass one strand of the rope through the anchor and tie a stopper knot in that one strand. When the second climber gets to the lower anchor, that strand gets pulled. The other strand zings through the top anchor and falls beautifully all the way down past you to the next anchor, without a knot in it.
Then you set up a stacked rappel with your partner and head down, with zero risk of rapping off the ends of the rope and without the extra time needed to pull up the other strand, tie a knot in it, and toss it again.
(This may be a bit of a head-scratcher when you first try to visualize it, but if you practice it in a controlled environment, it should make sense.)
Schweeeeet! More efficient rappels with reduced risk—what’s not to like?
Improving Sketchy Anchors
It’s common to find a mess of cord and webbing on rappel anchors. These anchors often incorporate all manner of stuff: looped/pinched slings, fixed nuts, pitons, and the occasional stuck cam.
Do yourself and everybody else a favor: Cut away everything that’s questionable and add new material of your own. This makes the anchor safer, more reliable, and easier to inspect.
Case Study (ANAC 2023): In 2022, several rappel accidents caused by aging slings/cords led to three deaths. One climber, using an alpine rappel anchor in the Wind River Range, threaded his rope, sat back to rappel, and almost immediately fell. The cord on the anchor had cut. After bouncing off some ledges, he miraculously stopped after 50 feet. Though he’d done a visual assessment, much of the culprit cord was hidden on the back side of the anchor block. The severed section likely had been damaged from being pinched by the block’s expansion and contraction during freeze-thaw cycles.
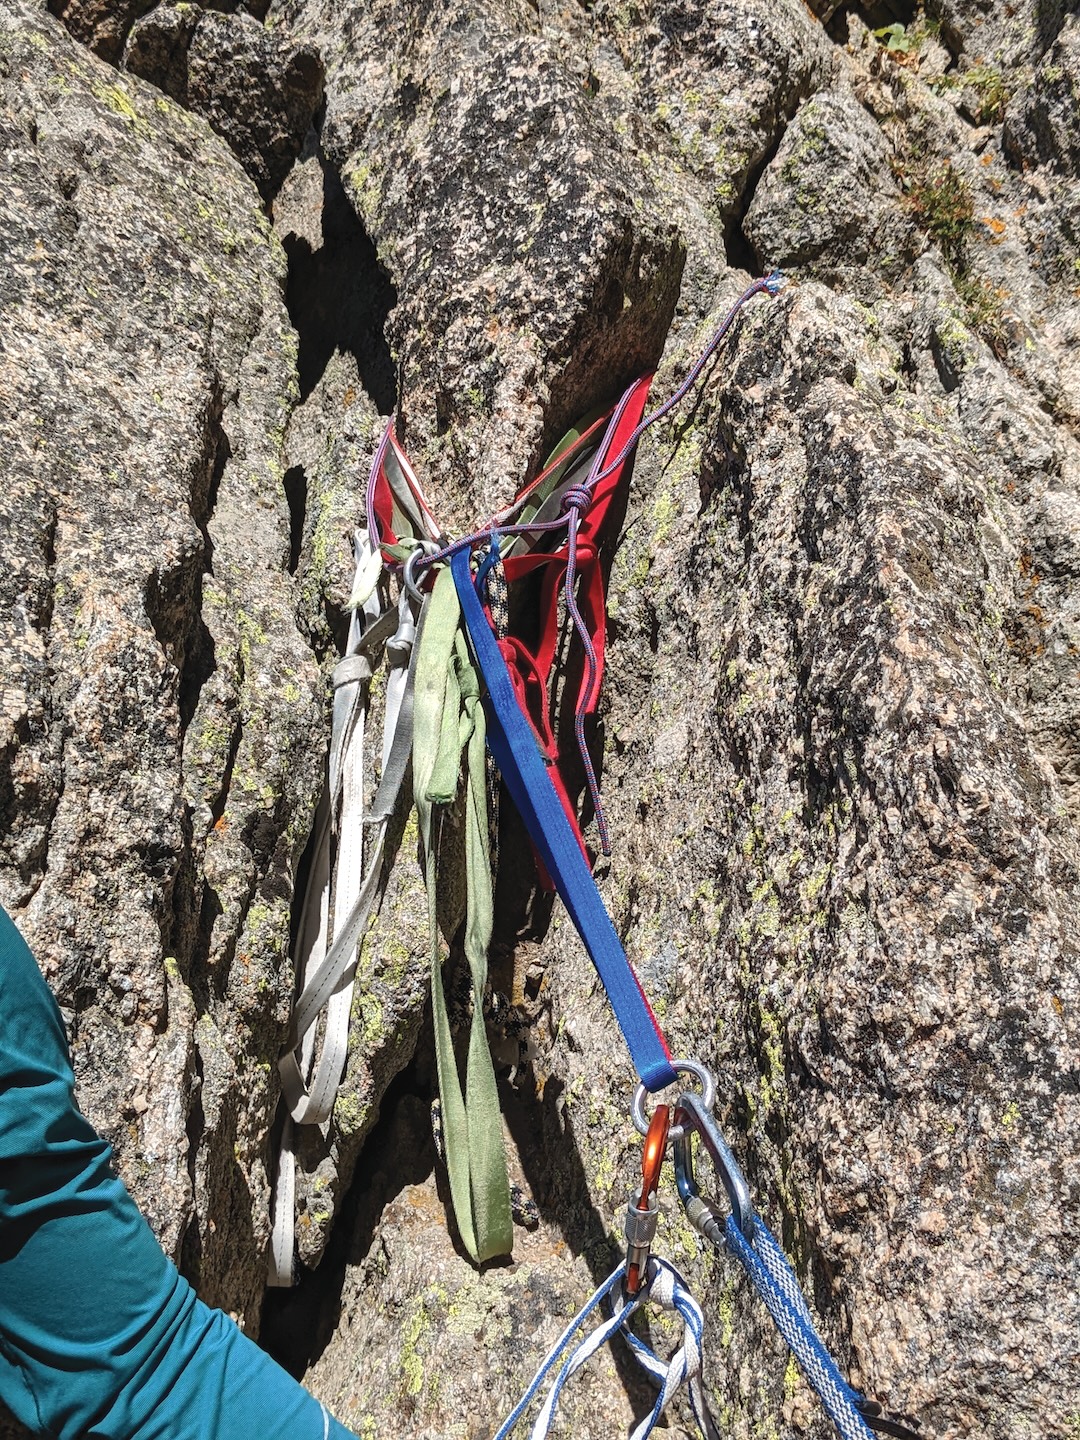
Every rappel anchor, especially one that looks like a rat’s nest, is guilty until proven innocent. It’s much easier to check an anchor that has two or maybe three strands of cord rather than a giant mess, and two or three pieces of fresh cord or webbing are almost always better than five pieces of sun-bleached, rodent-chewed shoelaces.
Here are some good ways to improve a sketchy anchor when you encounter one:
Bring a small knife: A knife easily cuts away rotten slings and cord from an old anchor. You don’t need anything fancy—I carry a cheap serrated-edge locking blade from the hardware store that costs five bucks.
Bring some cord: Carrying some extra 6mm cord (15–20 feet) at the bottom of your pack gives you lots of material to improve an anchor. (Such cord costs 40 to 50 cents per foot.) If each partner has this, along with the willingness to cut up the cordelette, that’s enough material to improve many anchors. The leave-behind cost of re-rigging a simple yet strong enough rappel anchor is no more Starbucks Iced Caramel Macchiato.
Use cord rather tha webbing: Cord is more resistant to ultraviolet light. It is easier to tie into a secure knot. It’s a bit less bulky than webbing so easier to carry and thread through cracks and piton eyes.
Consider the “cheapskate locker”: A longtime trick of big-wall climbers is the so-called “cheapskate locker”: a standard carabiner with the gate taped closed. Yes, you could rappel directly from the cord, but unless you’re building an emergency rappel anchor that you don’t expect anyone else to use, adding a metal connection point is better. It will reduce wear—pulling a rappel rope over webbing or cord creates friction, causing the rope to heat up and damage the fibers—bad for the next climbers who come along. A carabiner also allows the rope to pull more freely and with less effort. In the case of icy ropes, a metal link may prevent the rope from freezing in place.
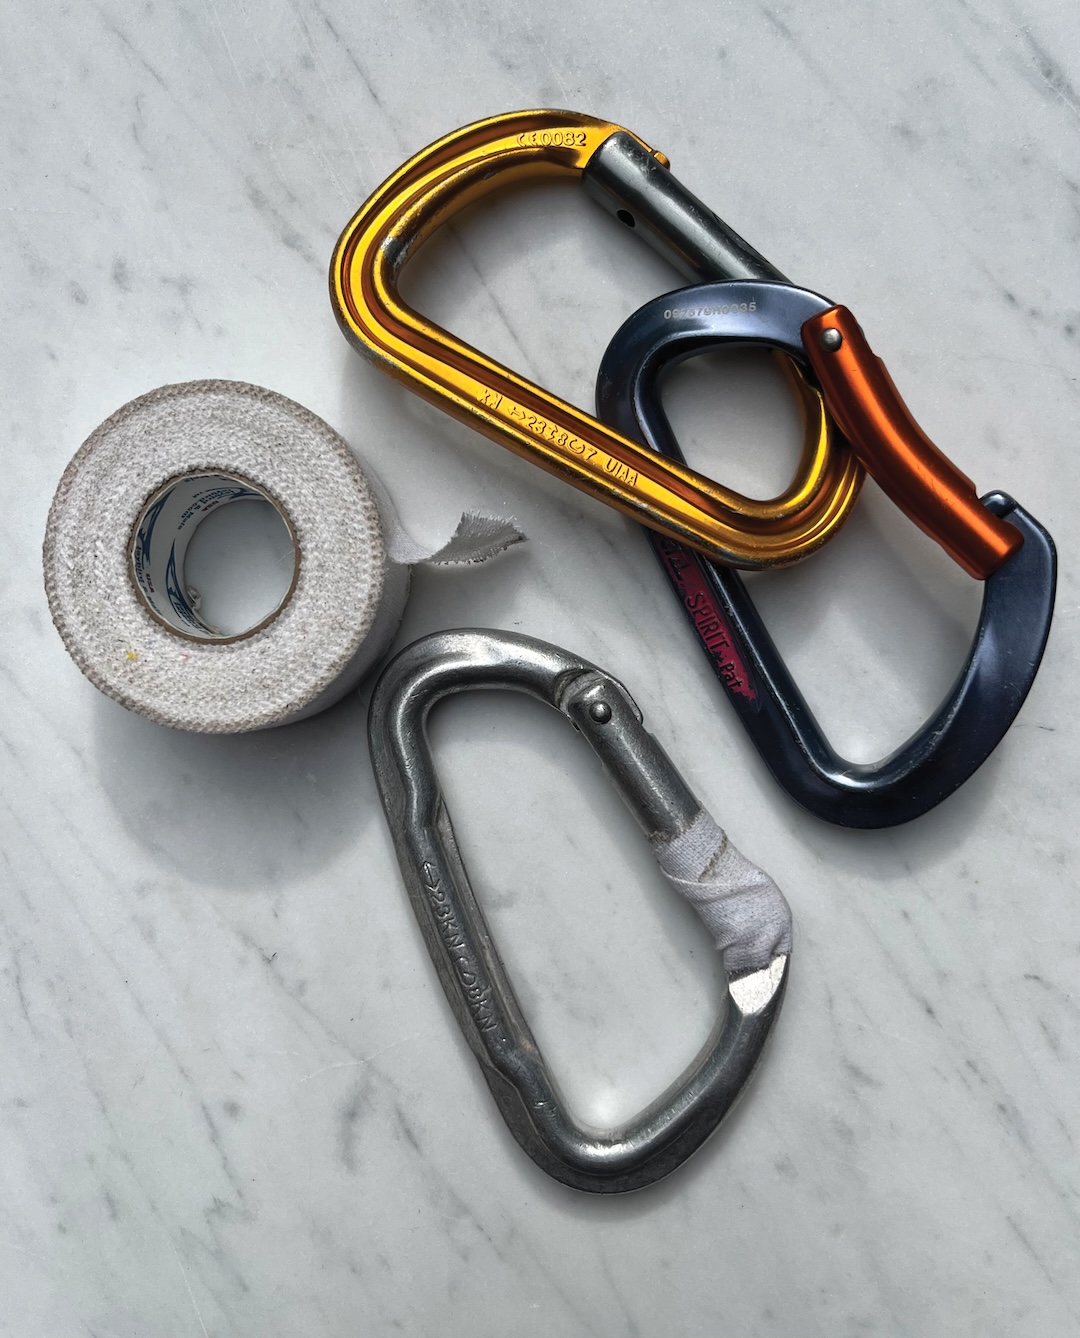
Photo: Pete Takeda
You could bring a quick link or a rappel ring, but these have the downsides of being a bit heavy and lack the versatility of a carabiner. Hollow aluminum rappel rings are relatively weak and wear out rapidly. You can always find a spare carabiner. With a bit of tape, you can secure the gate and make an excellent rappel masterpoint.
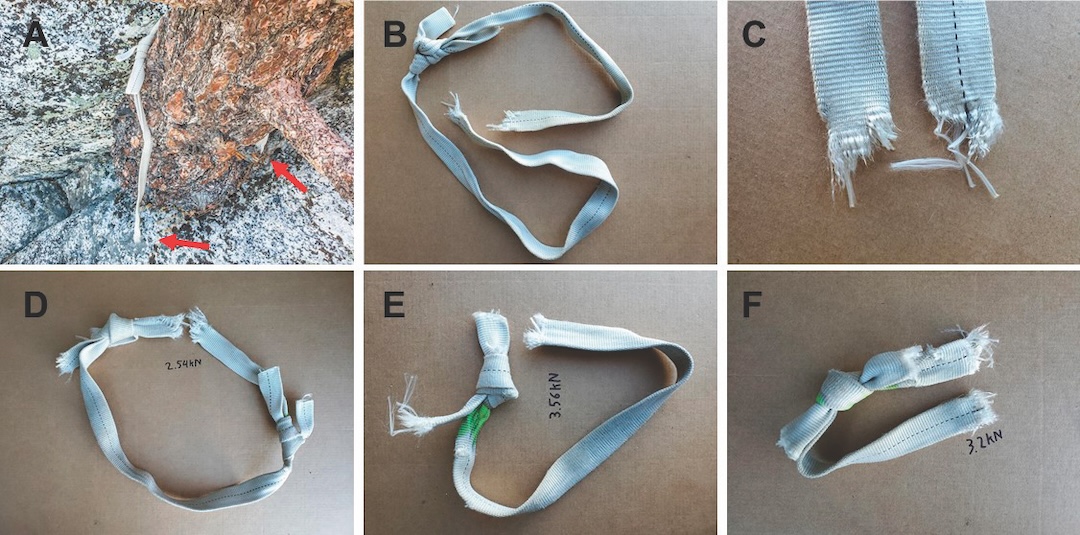
How bad is that old webbing?
Answer: Pretty bad. Old sun-bleached rappel webbing tested by HowNOT2.com, broke at around 3kN! That’s not much more than a body-weight bounce test, which you might generate if you jump around on your rappel.
Sadly, there have been several recent fatalities resulting from this exact situation: old webbing breaking under what appeared to be not much more than body weight. At Tahquitz Rock in 2022, two climbers used a fixed webbing loop that appeared to be newer than it was. This was because the faded webbing had gotten wet in a thunderstorm, making it seem more supple and darker than when dry. The webbing broke under one climber’s body weight, carrying both climbers to their deaths.
IN CONCLUSION
Preventable rappel accidents represent over a dozen of reported incidents from 2024. Unfortunately, they have serious consequences as they almost always take place high above the ground. You’ll see several of these analysed in the following pages.
Thanks in part to simple techniques like those described above, I’m still alive and well—and still enjoying the crags of Smith Rock. Living near great climbing allows for plenty of practice. Practice is essential in learning to be safe and efficient with your technical skills. If you’re new to all this, in-person instruction from a qualified instructor is strongly recommended.
My last tip is: Knowledge weighs 0.0 grams. Take as much as you can on your next climb.
John Godino lives in Bend, Oregon. He’s been a U.S. Forest Service wilderness ranger, a wildland firefighter, and a climbing instructor, and he has an MS in geosciences/cartography. His website Alpinesavvy.com has over 600 articles on intermediate and advanced climbing techniques to reduce risk and climb smarter. The current rappel section includes over 40 advanced rappel tips like the J-loop, dealing with stuck ropes, and the pros (and mostly cons) of simul-rappelling.
Media Gallery
